Not an Avid Home Repair
Do-it-Yourselfer?
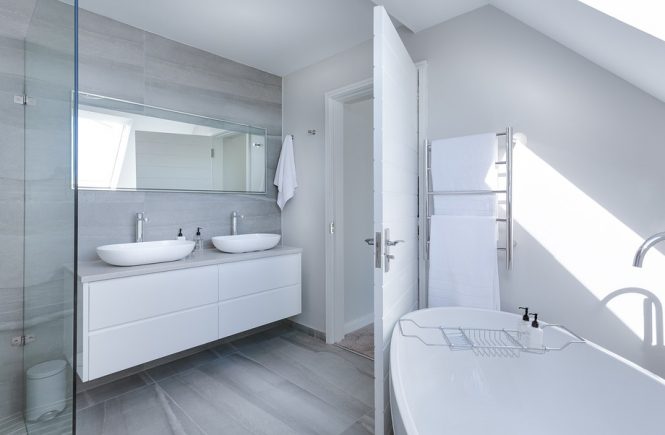
Having your own home entails more than just enjoying intimate nights in front of the fireplace and relaxing weekends spent on the deck, even though it can be a-dream-come-true. Ensuring that your private oasis runs smoothly and is safe requires a lot of dedication. There are some fixes in and around the house you should familiarize yourself with, even if you don’t consider yourself to be an avid do it yourselfer, simply because making regular repairs and routine upkeep is part of the deal.
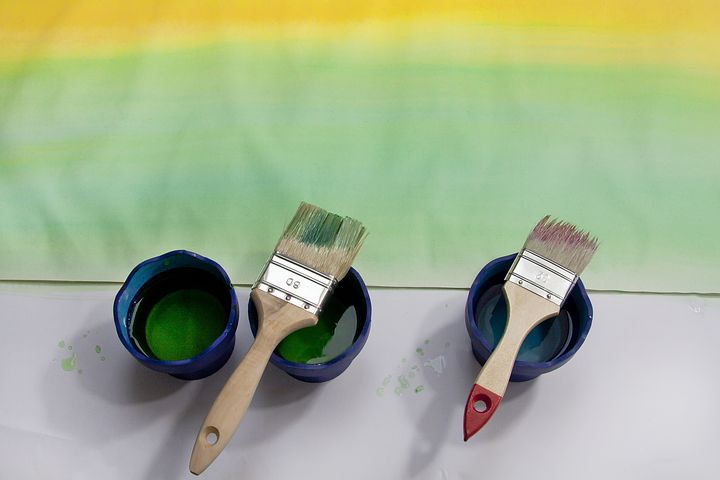
Getting Ready to Paint Over Walls Like An Expert
There’s no better way to improve or maintain the appeal of a room like a new paint job, regardless of whether you need to simply cover a small patch or an entire room. If you do not have, in your closet, work clothes covered in paint and a few paint brushes in the garage or basement, then you have not owned a home long enough.
One of the best ways to show off your home at its best is to spruce up the rooms with paint; however there are a few things you should keep in mind before you start collecting color samples. When a paint job is executed to perfection, it can add flair and style to the entire space in addition to boosting the value of the property. You might as well leave pealing and cracked paint on wall surfaces, as visible patches of sloppy trim paint, paint spatters and roller marks resulting from a poor paint job are just as bad.
When you prepare for the project, you will attain the best outcome. Preparation is supreme as far as painting is concerned. Proper preparation makes the paint job easier even though it’s time consuming.
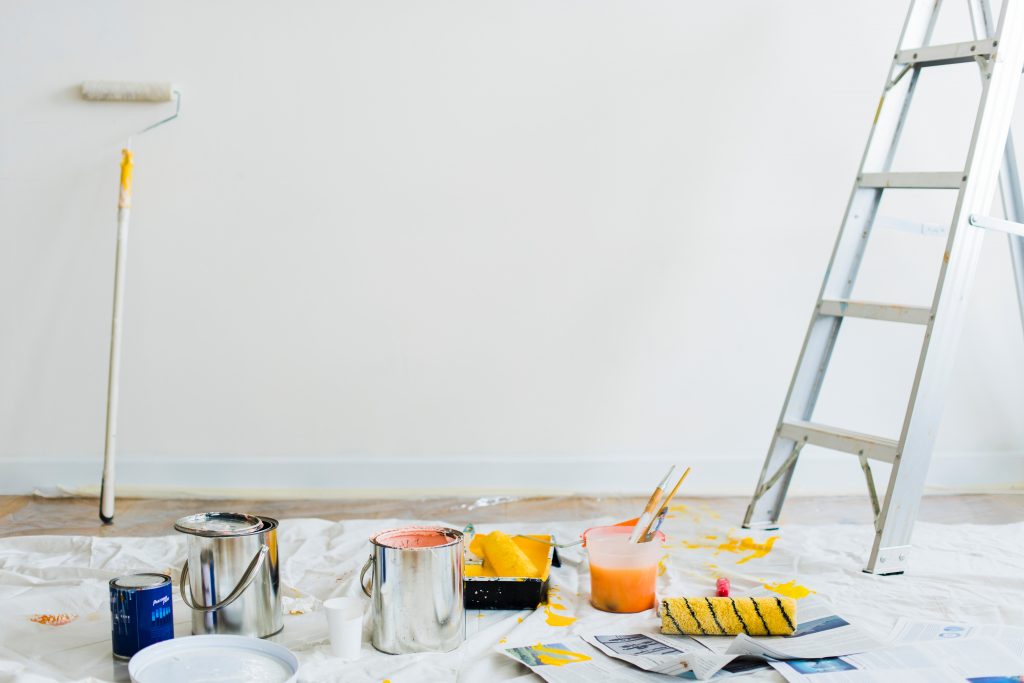
The first step is to clear any and all items that might be in your way when the painting starts. Door hinges, switch plates and curtain rods should be removed, and fixtures loosened up. Although this might seem to be time consuming, but no of it is wasted. You will end up wasting time later on, trying to move your roller or paint brush under or around any obstacles left in place. If you choose to leave things as they are, the job will take longer, and the outcome won’t have a professional look.
Use a dry cloth or moist sponge to clean the walls once you have cleared away any obstructions. Streaks may appear on the walls after the application of a new coat of paint because accumulated grime, dust and grease prevents it from adhering to the wall properly. Scan the walls for rough spots that are in need of sanding or gouges, nail holes and any imperfections that should be covered with spackle as you look over the entire room one last time. The success or failure of the final outcome of the project, especially in older properties, may hinge on small repairs like these. To eliminate the need to prime the walls as an extra step, where large surfaces have been sanded, consider using a pain that includes a primer in its composition.
At this point you can start laying drop cloths down and using painter’s tape to cover any baseboards, built-ins and molding. Painting your home’s walls will be straightforward afterwards.
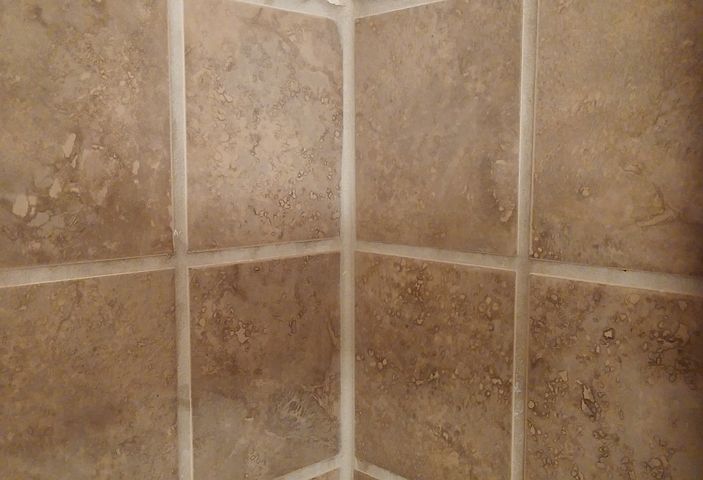
Caulk Application
The rubber-like substance usually found between the floor and your toilet’s outer rim, or between your sink, shower or tub is referred to as caulk. To protect walls and floors from moisture from these fixtures, caulk creates a waterproof seal. Applying it follows an easy one step process since it adheres to these surfaces. In addition to discoloration which occurs over time, age related deterioration of caulk can expose your home to the growth of mold and water damage.
Removal of the residue left by the initial application of caulk is usually the most difficult part of any caulking job. Good preparation is essential as the new bead of caulk won’t stick if the old caulk isn’t completely removed first. It took a lot of time to remove old caulk in the past as it could only be done using a razor scraper. Fortunately, it is now easier to remove with the help of one of the many available products designed to make cured caulk soft. You can use a putty knife to easily remove treated cured caulk. Clean the area with paint thinner and allow it to completely dry after removing the old cured caulk. You will then be ready to move on to the next step, the application.
A little practice is required when it comes to learning how to use standard tube of caulk or a caulking gun.
It’s comparable to attempting to use a tub of toothpaste to draw a straight line. Though, here you do have some options. You can use a piece of plywood for practice to begin with; just buy some extra caulk, which is fairly affordable. To ensure that you can properly cover even the widest gap in your project, cut the tip of the caulk, which is cone shaped, at the necessary diameter and at an angle.
Consider buying and using caulk strips, which you can simply press into place after unrolling them, if you doubt your ability to apply an even and smooth bead of caulk. If you have a straightforward installation which you want to do in a hurry, these tools are a great solution even though they take away the artistry out of the project.
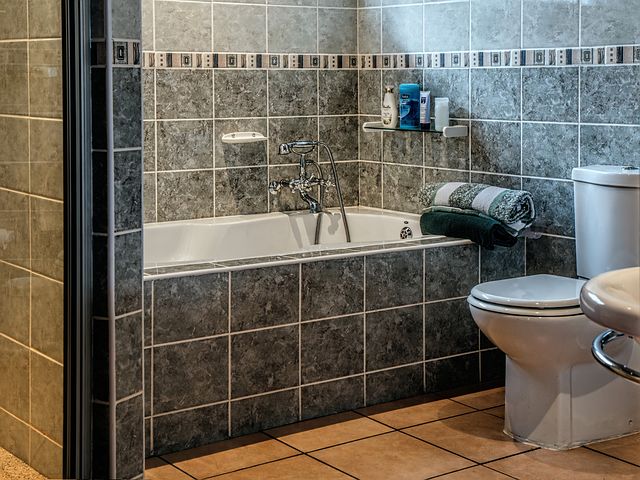
Unclogging a Blocked Toilet
Every now and then, all homeowners have to deal with a backed-up toilet, even though no one looks forward to it. You can look at it as a rite of passage, in a way. Since there’s a sense of urgency involved in resolving this problem, toilet issues are quite stressful.
Avoid going into a panic, first and foremost. Launch an investigation to find out if any foreign objects could, by accident, have found their way into the toilet bowl, instead. In a house with small kids it’s almost normal to find all sorts of toys thrown in the toilet from time to time. Unclogging the toilet, in such cases, might be as simple as fishing the object out using your glove clad hands. Alternatively, you can pour a pail of water into the bowl after waiting for the water level to go down to the normal level. Most blockages will be dislodged and pushed away by the additional pressure.
Use a plunger to get rid of the blockage if it persists.
You can increase the amount of pressure sent down into the discharge siphon pipe by simply using a flanged plunger which is best suited for use in clearing toilet clogs as it makes a better seal. Another effective option is the accordion plunger. Before you start plunging, ensure that the suction cup is covered with water completely. If you have to, add water to the bowl.
A closet auger or a plumbing snake, a coiled metal wire that can be threaded through to free anything lodged in the serpentine piping of the toilet from the toilet bowl, can also be used to dislodge blockages. Found at your local home improvement store, plumbing snakes are a relatively affordable alternative.
Capable of delivering a stronger surge of pressure than your everyday plunger to clear clogs, consider using compressed carbon dioxide or air cartridge delivery tools available at most plumbing supplies outlets, if all the above options fail. They are cheaper than hiring a plumber but more costly than plungers.
You can, as a last resort, get at the clog by uninstalling the toilet and upending it. This might be cheaper than calling in a plumber, but there is a high chance that you will be grossed out.
Uninstalling most toilets is relatively straightforward.
Hold-down bolts are used to attach the bowl to the floor, atop a wax collar, after you have detached the water tank from it. getting the toilet bowl off the collar and onto a plastic tarp for convenient access isn’t that hard after the bolts are off and the caulk around the base is removed.
Cover the exposed drain opening to keep gas from escaping into the room, and make sure that you set the toilet onto a tarp under which you have laid an old blanket to keep it from cracking. Before reinstalling the toilet bowl, remember to replace the wax collar. Find someone to help you because even though toilets are easy to uninstall, they tend to be heavy to lift.