Simple Tips For First-Time Home Owners

excited home owner

At long last, you’re a homeowner.

This means that you won’t have to defer to your landlord when it comes to upgrades.

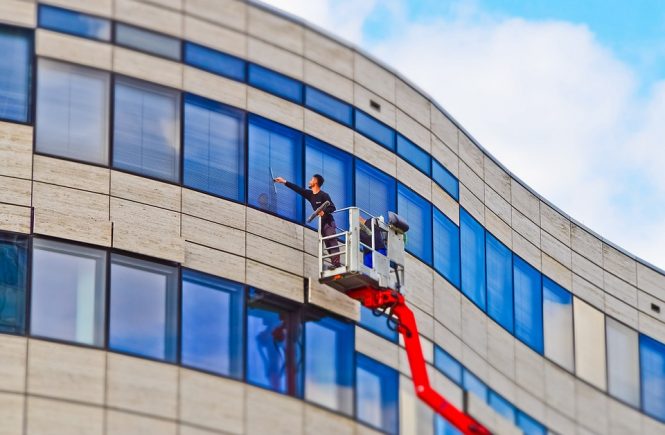
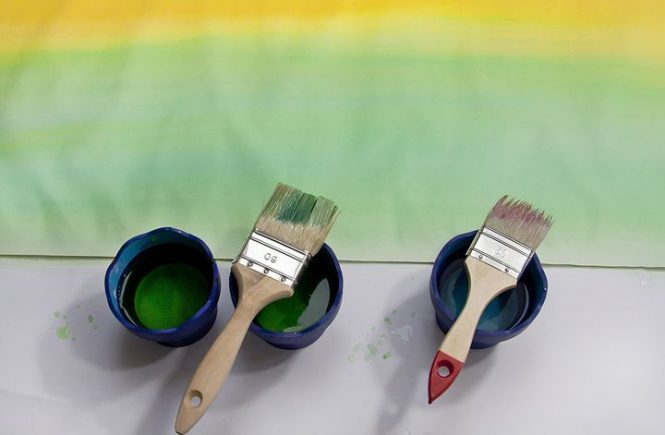
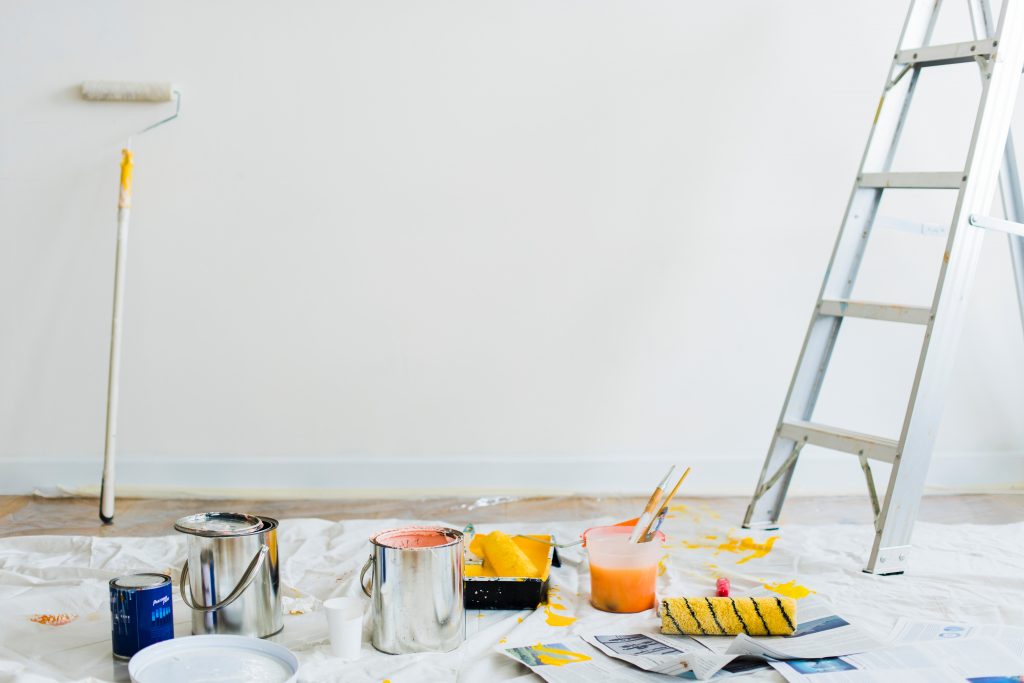
You can paint your walls, replace your windows, or even install new flooring.

Everything is up to you.

Still, it’s important to remember that this is a major responsibility. Your home is an investment, and it’s something that should enrich you. These simple tips will help you to avoid many of the mistakes that other homeowners make.

small home

After you purchase your home, these are some of the steps you’ll want to take:

1. Switch the locks. You don’t know who has a spare key.

2. If you want to keep an extra key out, don’t put it beneath the flowerpot. Criminals know to check there. Instead, place it in a lockbox.

3. If your garage doors or gates have key codes, reset them. You have no way of knowing who the owner gave those codes out to.

4. Check carbon monoxide and fire detectors to ensure they’re in good working order. You don’t know when they were tested last! If your home is missing either of these things, you’ll want to install them.

5. Look at the temperature that’s on your water heater. This is especially important if you have children in your house. This is especially important if the heater is newly installed, as manufacturers typically set temperatures fairly high. Ideally, you’ll want to temperature to be set at 120 degrees.

6. Ensure that the bulbs in motion detectors and any additional security lights are working.

7. Make sure that there’s a fire extinguisher on every floor of the house. The fire extinguisher on the ground floor should be in the kitchen.

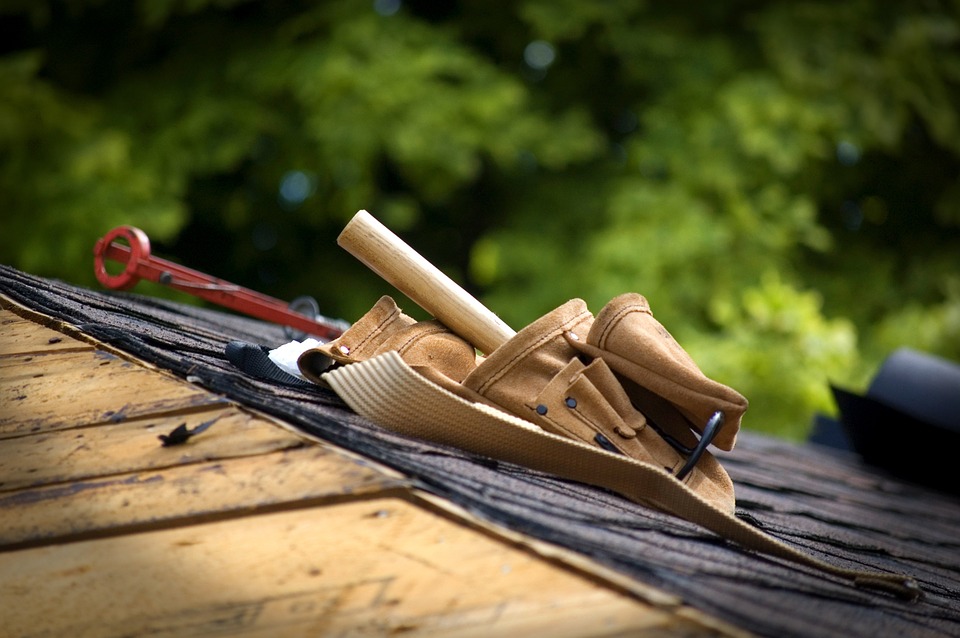
8. Have your vents and dryer house cleaned annually. A clogged vent or hose could lead to a fire. You should also clean them after you move in. Remember, you don’t know when or if the previous owners had them cleaned.

9. Make sure your HVAC filters are changed once a season or more. This can increase the lifespan of your unit, and it can also reduce your heating and cooling costs. It’s a wise idea to stock up on filters so that you always have them around.

10. In both the spring and the fall, you should work with a trusted company for HVAC, furnace repair and maintenance.

11. Every year, have your fridge coils cleaned. It will improve performance. This may not be necessary if you have a newer fridge. It’s typical for coils to be insulated in new fridge models.

12. Your water heater should be drained annually.

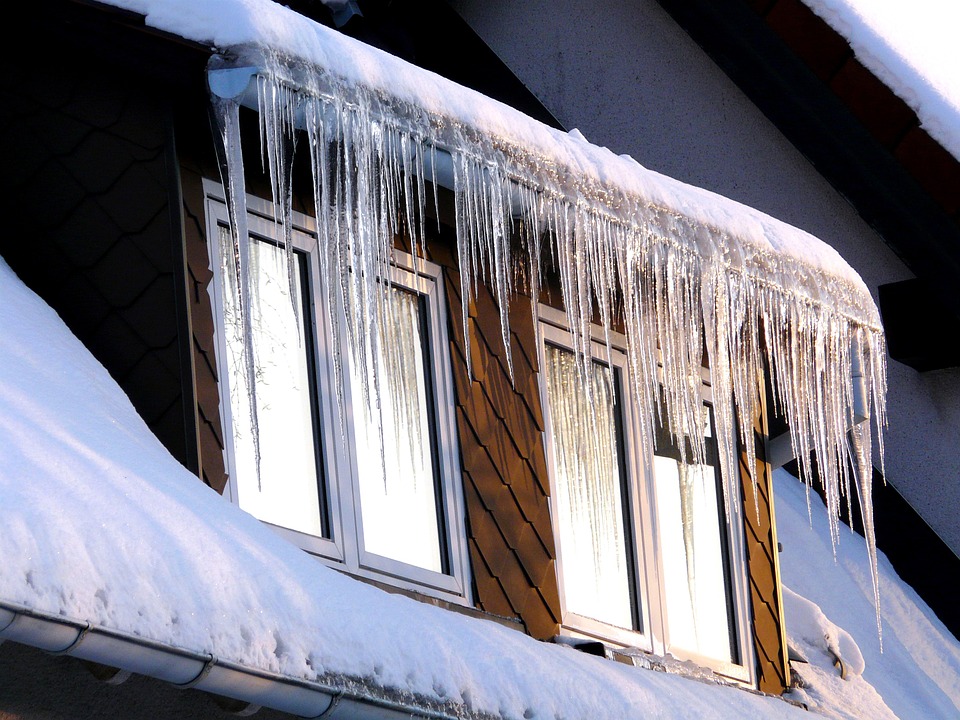
13. Gutters should be cleaned twice each year or more.

14. If certain items on your inspection report weren’t taken care of, you’ll want to fix these issues sooner rather than later. Repairs will only cost you more down the road.

15. Find your primary water shut-off valve. You can assume that at some point, you’ll have to deal with busted pipes. Knowing where the shut-off valve is can help you to avoid water damage.

16. Locate the circuit box and make sure that all of your circuit breakers are clearly labelled.

17. If your home runs on gas, you’ll want to find the location of that shut-off valve as well.

18. If your home has a sump pump, it should be tested ahead of the rainy season.

19. You know that you can call 911 in an emergency, but you’ll want to put together a list of other emergency contacts as well. Place this list in an area where it’s easy to spot.

This list should include:

  • Utility companies
  • Plumbers
  • Insurance agents
  • Electricians

20. Put together a kit of emergency supplies. It should include items like:

  • Batteries
  • Water
  • Blankets
  • Flashlights

23. Keep companies of important documents like your mortgage agreement. This can help you if you have a dispute with your lender. It’s a good idea to keep both physical and digital copies of important documents.

You should also save:

  • Contact information for your lender
  • Your home inspection report
  • Insurance paperwork
  • Closing documents

22. Make sure essential bills like your mortgage payment are on auto-pay so they’ll never be late.

Here’s a short video in review … 8 things to do once you move in.


Continue Reading

Reasons To Hire A Professional High-Rise Window Cleaner

high rise window cleaner

Reasons To Hire A Pro

When it comes to commercial high rise window cleaning, people have a perception that all cleaning services are the same. However, this is not the case. Window cleaning services can be categorized under three main services, residential window cleaning, commercial building cleaning services, and high-rise window cleaning.

Some window cleaning companies strictly offer residential services, while others purely focus strictly on commercial buildings only and may only work on high-rise buildings. Also, many window cleaning companies have the skills, tools, and equipment so their crews can work on a wide range of structures.

All in all, commercial high-rise window cleaning is a type of service that quite unique. That is because it is a service that needs specialized equipment, skills, and tools. The hazards are higher with this service. As such, if you’re looking to hire a contractor in Toronto, you’d be wise to hire a real professional with all the necessary equipment and the right skill sets.

Equipment Needed

high rise window cleaning equipment

The main reason you should hire a pro, especially on high-rises is they have access to the proper equipment. With this service, you need much more than simply a few rags and some cleaning solution.

Although, a majority of the cleaning products and equipment you will use on a high-rise cleaning job will be the same as any other job. There are those few types of equipment that are designed explicitly for high-rise window cleaning jobs. These equipment are generally those used to help the skilled personnel to access windows in hard to reach areas. To clean the window, the qualified technician will need regular window cleaning supplies such as a bucket, cleaning solution, squeegee, window mops, few rags, and others. However, they will also need equipment like grains, winches, strong cables, extension poles, and much more.

Cleaning windows at ground level is obviously straight forward, and anyone can do it. However, with the next two floors, the technician will need to use extensions that are attached to cleaning tools like buckets and squeegee. The truth is that using extensions is a bit tricky and does not only need experience but training. A professional cleaner can do this without damaging any window.

For a professional window cleaner to clean windows above the third floor, they will need a piece of equipment known as bosun’s chair. This is like a suspension chair, which allows a worker to move up and down the vertical side of a building so that they can clean windows with ease. It is generally a flat platform that looks like a chair and attached to ropes (like a children’s swing), which are securely anchored to a point at the top of a building. Working from the bosun’s chair, the worker is not only safe but comfortable while doing their task at extreme heights.

man washing windows


For a bosun’s chair to be useful, there’s is some additional equipment that’s also needed. First, the chair needs to be equipped with various safety mechanisms to prevent the window cleaning expert from falling. Furthermore, it must come with a safety harness. These are safety features that must be available. You will need items such as karabiners, and rope.

Why Hire A Pro?

The reasons to hire a professional or pro goes beyond their ability to accesses equipment. That is because you can buy most of the equipment easily. No matter the case, you should use common sense before you ask an untrained employee or any personnel to do this kind of work. Remember, this is not a task anyone can do; it needs training, experience, and skill. Only through these merits will the person be able to work the equipment safely. Moreover, most anyone would feel uncomfortable working on these heights.

A professional cleaner or window cleaning company is going to have employees thoroughly trained that know how to work all equipment. Because they undergo safety training, they know how to prevent potential disasters. Otherwise, if any person who does not know how to work this equipment or follow all the safety protocols, they are putting their lives in danger aside from offering an excellent window cleaning service.

Aside from safety, there is another benefit to seeking the services of a professional. A professional is going to deliver better services and results.

In other words, the expert is going to get the job done right.

Another reason to hire a professional is their ability to do the job faster. The fact is that a majority of high-rises have many windows (dozen at minimum). This makes cleaning a challenge for one person. For this reason, a god window cleaning business has the man-power (crew) to deliver as fast as possible. Therefore, it does not matter how big the job is; a good service provider can deliver on time.

How to Hire a High-Rise Window Cleaning Service?

Of course, there are few things you must consider when looking for a pro. These are things you should look at before you even consider hiring one:

1. Do They Have Insurance

Insurance is vital and should never be ignored. For this reason, you should always ensure that the professional is covered for all accidental damages that could occur while working on a building. An insurance cover that covers accidents and any injuries while working on a client’s property is also fine.

2. Do They Have Experience

Experience is also important. To evaluate the experience a company has, ask them how long they’ve been in business in the area. Asking alone is not enough. Ask them to prove the buildings they have worked on and request the provide you with references and their contact info.

3. Planning & Scheduling

Communicating with the company is the only way you will get to know what they are about and how they plan their jobs. Find out how they approach their job while working on a building. Are they able to work with you in scheduling the work? What is their average cleaning estimate time? Are they flexible to accommodate your needs or company needs?

Conclusion

Professional high rise window cleaning services add value no-matter the kind of building it is being done. But one thing is clear; you need professional service when it comes to this type of work.

Only specially trained and certified individuals should be hired for this type of work.

Continue Reading

DIY Home Repairs Every Homeowner Should Master

Paint-reno-repairs

Not an Avid Home Repair
Do-it-Yourselfer?

Having your own home entails more than just enjoying intimate nights in front of the fireplace and relaxing weekends spent on the deck, even though it can be a-dream-come-true. Ensuring that your private oasis runs smoothly and is safe requires a lot of dedication. There are some fixes in and around the house you should familiarize yourself with, even if you don’t consider yourself to be an avid do it yourselfer, simply because making regular repairs and routine upkeep is part of the deal.

Getting Ready to Paint Over Walls Like An Expert

There’s no better way to improve or maintain the appeal of a room like a new paint job, regardless of whether you need to simply cover a small patch or an entire room. If you do not have, in your closet, work clothes covered in paint and a few paint brushes in the garage or basement, then you have not owned a home long enough.

One of the best ways to show off your home at its best is to spruce up the rooms with paint; however there are a few things you should keep in mind before you start collecting color samples. When a paint job is executed to perfection, it can add flair and style to the entire space in addition to boosting the value of the property. You might as well leave pealing and cracked paint on wall surfaces, as visible patches of sloppy trim paint, paint spatters and roller marks resulting from a poor paint job are just as bad. 

When you prepare for the project, you will attain the best outcome. Preparation is supreme as far as painting is concerned. Proper preparation makes the paint job easier even though it’s time consuming.

The first step is to clear any and all items that might be in your way when the painting starts. Door hinges, switch plates and curtain rods should be removed, and fixtures loosened up. Although this might seem to be time consuming, but no of it is wasted. You will end up wasting time later on, trying to move your roller or paint brush under or around any obstacles left in place. If you choose to leave things as they are, the job will take longer, and the outcome won’t have a professional look.

Use a dry cloth or moist sponge to clean the walls once you have cleared away any obstructions. Streaks may appear on the walls after the application of a new coat of paint because accumulated grime, dust and grease prevents it from adhering to the wall properly. Scan the walls for rough spots that are in need of sanding or gouges, nail holes and any imperfections that should be covered with spackle as you look over the entire room one last time. The success or failure of the final outcome of the project, especially in older properties, may hinge on small repairs like these. To eliminate the need to prime the walls as an extra step, where large surfaces have been sanded, consider using a pain that includes a primer in its composition.

At this point you can start laying drop cloths down and using painter’s tape to cover any baseboards, built-ins and molding. Painting your home’s walls will be straightforward afterwards.

tile-caulking

Caulk Application

The rubber-like substance usually found between the floor and your toilet’s outer rim, or between your sink, shower or tub is referred to as caulk. To protect walls and floors from moisture from these fixtures, caulk creates a waterproof seal. Applying it follows an easy one step process since it adheres to these surfaces. In addition to discoloration which occurs over time, age related deterioration of caulk can expose your home to the growth of mold and water damage. 

Removal of the residue left by the initial application of caulk is usually the most difficult part of any caulking job. Good preparation is essential as the new bead of caulk won’t stick if the old caulk isn’t completely removed first. It took a lot of time to remove old caulk in the past as it could only be done using a razor scraper. Fortunately, it is now easier to remove with the help of one of the many available products designed to make cured caulk soft. You can use a putty knife to easily remove treated cured caulk. Clean the area with paint thinner and allow it to completely dry after removing the old cured caulk. You will then be ready to move on to the next step, the application.

A little practice is required when it comes to learning how to use standard tube of caulk or a caulking gun.

It’s comparable to attempting to use a tub of toothpaste to draw a straight line. Though, here you do have some options. You can use a piece of plywood for practice to begin with; just buy some extra caulk, which is fairly affordable. To ensure that you can properly cover even the widest gap in your project, cut the tip of the caulk, which is cone shaped, at the necessary diameter and at an angle.

Consider buying and using caulk strips, which you can simply press into place after unrolling them, if you doubt your ability to apply an even and smooth bead of caulk. If you have a straightforward installation which you want to do in a hurry, these tools are a great solution even though they take away the artistry out of the project.

toilet-bathroom

Unclogging a Blocked Toilet

Every now and then, all homeowners have to deal with a backed-up toilet, even though no one looks forward to it. You can look at it as a rite of passage, in a way. Since there’s a sense of urgency involved in resolving this problem, toilet issues are quite stressful.

Avoid going into a panic, first and foremost. Launch an investigation to find out if any foreign objects could, by accident, have found their way into the toilet bowl, instead. In a house with small kids it’s almost normal to find all sorts of toys thrown in the toilet from time to time. Unclogging the toilet, in such cases, might be as simple as fishing the object out using your glove clad hands. Alternatively, you can pour a pail of water into the bowl after waiting for the water level to go down to the normal level. Most blockages will be dislodged and pushed away by the additional pressure.

Use a plunger to get rid of the blockage if it persists.

You can increase the amount of pressure sent down into the discharge siphon pipe by simply using a flanged plunger which is best suited for use in clearing toilet clogs as it makes a better seal. Another effective option is the accordion plunger. Before you start plunging, ensure that the suction cup is covered with water completely. If you have to, add water to the bowl.

A closet auger or a plumbing snake, a coiled metal wire that can be threaded through to free anything lodged in the serpentine piping of the toilet from the toilet bowl, can also be used to dislodge blockages. Found at your local home improvement store, plumbing snakes are a relatively affordable alternative.

Capable of delivering a stronger surge of pressure than your everyday plunger to clear clogs, consider using compressed carbon dioxide or air cartridge delivery tools available at most plumbing supplies outlets, if all the above options fail. They are cheaper than hiring a plumber but more costly than plungers.

You can, as a last resort, get at the clog by uninstalling the toilet and upending it. This might be cheaper than calling in a plumber, but there is a high chance that you will be grossed out.

Uninstalling most toilets is relatively straightforward.

Hold-down bolts are used to attach the bowl to the floor, atop a wax collar, after you have detached the water tank from it. getting the toilet bowl off the collar and onto a plastic tarp for convenient access isn’t that hard after the bolts are off and the caulk around the base is removed.

Cover the exposed drain opening to keep gas from escaping into the room, and make sure that you set the toilet onto a tarp under which you have laid an old blanket to keep it from cracking. Before reinstalling the toilet bowl, remember to replace the wax collar. Find someone to help you because even though toilets are easy to uninstall, they tend to be heavy to lift.

Continue Reading

Increased Security Issues Posed By Larger Construction Projects

Increased Security Issues Posed By Larger Projects

There is no doubt that damage to property can upend even the best-laid endeavors. All repair projects require protection of the underlying structures, but when a high-rise building is at issue, the matter takes on greater importance indeed.

All elements of a structure demand protection, from balcony railings, parapet walls, roof, windows to sliding doors and more. Workers need to contemplate the potential for damage to property that sits near the construction zone, whether the damage occurs to parked vehicles or the landscaping adjacent to the building. Given that high-rise work frequently includes interior spaces, it is vital to engage in additional safety measures when tasks are undertaken near art works and furniture items.

Every pre-project planning undertaking really ought to have detailed protection plans as an integral core focus. As an example, when working on a coastal high rise, it would be wise to take steps to safeguard the structure in the event of a hurricane something to which the region is vulnerable. Determining such precautions in advance makes the most sense to ward off potential calamities.

There should always be a comprehensive survey done of the surrounding area prior to the start of work so that existing issues with the mechanical systems, roofing, flashing and the like can be identified. While this is something that will take a bit of time, it will help avoid nasty surprises and disputes later on.

When a protection plan is created, it is important to keep in mind the most critical part of the entire job, namely, the people involved. High-rise project managers need to keep three groups of constituents at the forefront of planning. These are the workers, the owners and tenants of the building at issue and the engineers/inspectors assigned to the project. Each category of people must be schooled in safety measures relevant to the job, including the wearing of protective gear and the maintenance of closed access realms at the site.

Because so many of the current crop of high-rise structures are almost beyond belief in terms of the scale, those in charge of building them are frequently forced to assume a public role.

As such, successful completion of a project of this sort becomes extremely important. While the issues related to repairing high-rise buildings are often vexing, it is possible to effectively manage them with a great degree of deliberation and attention to all details. With solid communication processes, careful planning and by making safety a priority, it is possible to complete the most daunting projects with a surprising degree of ease.

Continue Reading

How to Diagnose a Leaky Skylight

modern-bathroom-with-skylight

Skylights are quite infamous for letting the rain come in during the summer season, as well as the formation of ice dams when you’re going through one of Canada’s harsh winters. Since they’re a physical interruption to the roofing material, and quite commonly on a slope, they frequently develop leaks after enough time. Leaks usually happen when the window seal and the shingles surrounding it starting aging, or even more quickly if the initial installation wasn’t done appropriately.

If you notice leaking happening with your skylight, then there are several diagnostics you can go through on your own prior to consulting professional help. When you know just what to look for, it might just save you a lot of trouble later on.

The very first thing that you need to check for is any condensation trouble happening on the walls or inside of the glass. If you have a skylight that is located either in a bathroom or any other location that’s humid, then there’s a good chance that any water you notice dripping down is actually happening from inside your home rather than outside of it. If you wind up suspecting this to be the case, then you should be able to dry things up pretty fast by either using a ventilation fan in the bathroom or even opening your window, although this is really only feasible in the summer. Monitor the humidity levels of your home closely during the winter seasons if you want to prevent the buildup of condensation in the future.

If you notice condensation that forms between the glass panes inside the sealed unit, or even water coming nearer to the skylight glass than at the level of the roof, that might indicate that the skylight seals themselves have started failing. This can be really hard to fix and typically happens close to the end of the service cycle of a skylight, which is approximately 25 years for most of the skylights that are installed in homes right now. If this happens, your best solution might be a full replacement of your skylight, along with the shingles surrounding it.

ice and snow covered windows

Wintertime snow and ice get things even more complicated. When snow falls on top of your skylight, it tends to melt fast, but then it will refreeze when that water his the cold surface of the roof. This process repeating itself with every snowfall eventually winds up leading to water pooling behind an ice dam that forms, which makes water start trickling through your roofing materials before they appear on your ceiling. High-caliber roofing materials, such as an ice/water shield surrounding your skylight, can help with the reduction of how much water winds up seeping through. However, these components can’t hold standing water on their own, which means that water might still wind up getting through. Frequently removing the snow in this area might be the only way you can prevent ice dam leaks in the vicinity of your skylight.

If your leaks aren’t caused by any of these issues, then odds are good that you need a professional to come out and look at your flashing and shingles from up above. It’s always a possibility that the skylight just wasn’t installed right, and the surrounding sealants and shingles just got damaged or worn out. When your roofing material gets closer to the end of its life cycle, it’s more than likely going to show this first at a weak point, such as a skylight.

Skylights are complex and rarely free of trouble, but if you get a professional roofing technician out there, he or she can diagnose the issue quickly before providing you good choices that can keep all that water outside of your home, which is where you’d always rather it be.

Continue Reading